

Guides5 February 20266 min read
How to Install Flexible Stone Panels: A Step-by-Step Guide for Flat and Curved Walls
No crane, no substrate, no wet trade. The full sequence for mounting a 2–5 mm mineral skin on a flat wall or wrapping it around a column — with the three mistakes that cause 90% of callbacks.
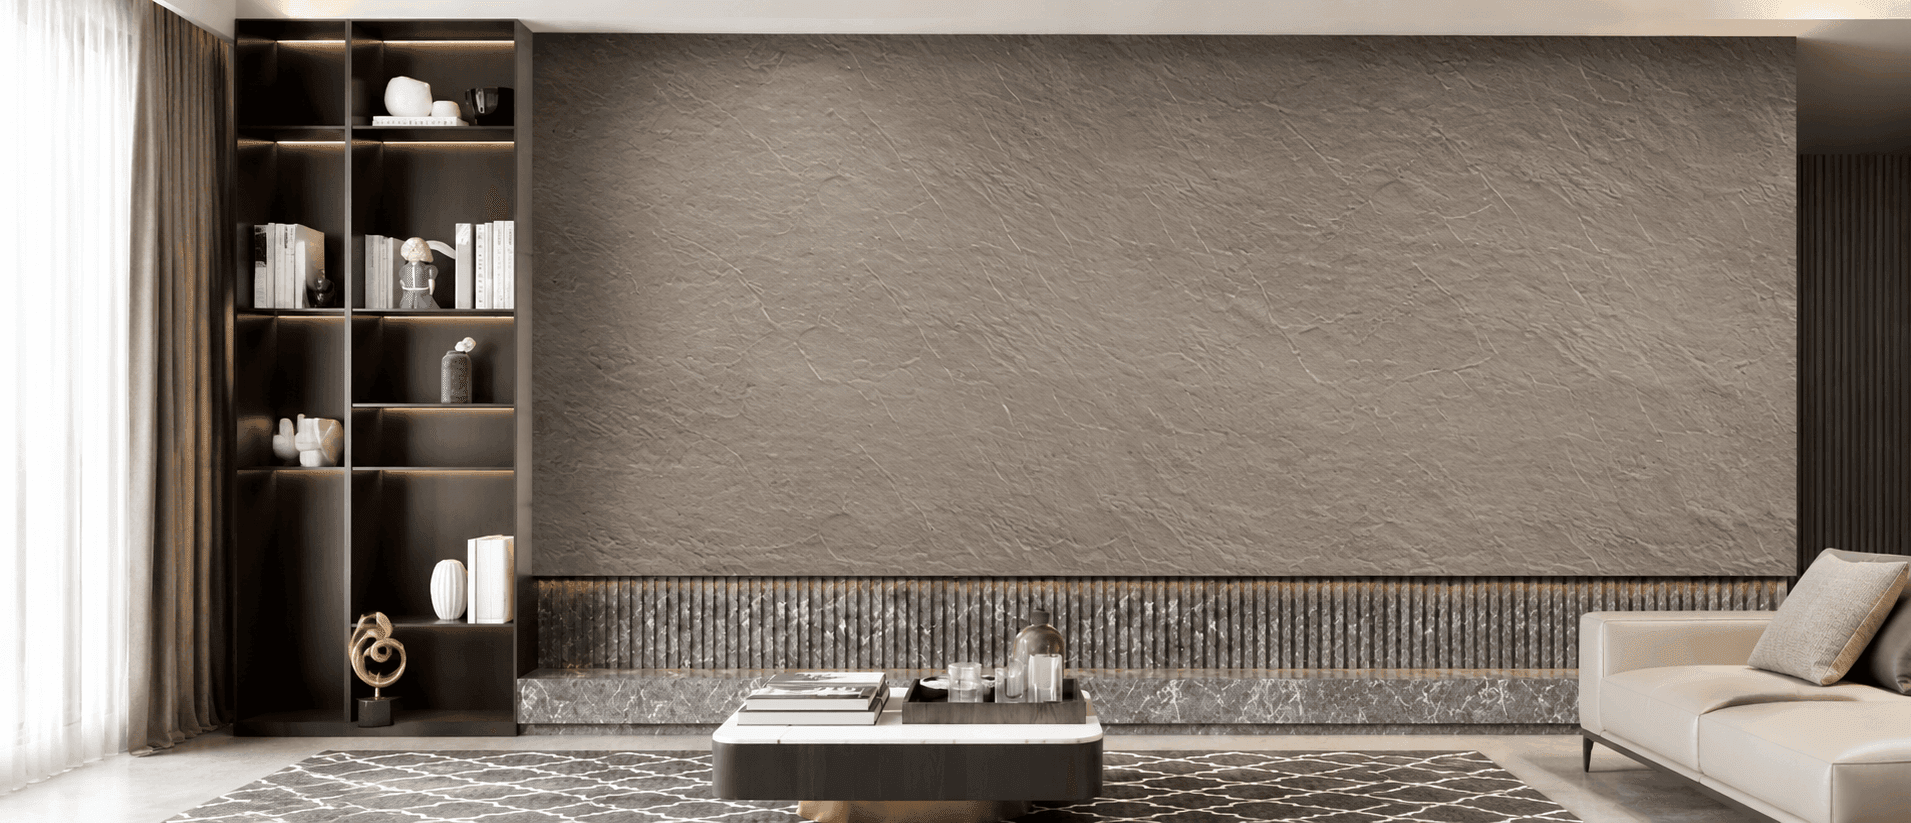
Flexible stone installs closer to hanging heavy wallpaper than to laying slab — but the prep is where jobs are won or lost. The wall must be sound, dry, flat and dust-free. Fill and sand hollows; prime chalky or porous surfaces so the adhesive grabs.
Set out first. Dry-lay the sheets and mark plumb lines, matching the grain and vein direction between panels so the finished wall reads as one surface, not tiles. Number the sheets on the back before you commit any adhesive.
Comb a flexible polymer adhesive onto the wall with a notched trowel, press each sheet from the centre outward to push air out, and roll it flat. For a column or curve, warm the sheet gently to relax it, then work it around the radius in one pass, holding the leading edge until it takes.
Trim on the wall with a sharp knife and a straight edge, seal the joints and edges per the finish, and wipe clean. The three callbacks to avoid: skipping primer on porous walls, trapping air behind the sheet, and breaking grain direction across a seam. Get those right and the wall behaves for years.
- how to install flexible stone
- flexible stone installation guide
- stone veneer installation
- curved wall cladding install